So for a long time I’ve been trying to build a portable, battery-powered outdoor cinema. Why, you ask? So we can watch movies when we go hiking, in the park, anywhere!
What is a Portable Cinema?
At its most simple, a portable cinema is just these three things:
- A tiny battery powered projector
- A battery powered speaker
- A collapsible projection screen
The projector

After a lot of looking around, I ended up settling on the AAXA P3 Pico Projector. They’re 720p resolution, 50 lumen brightness, 1:1000 contrast ratio, and can playback from USB thumbdrive or HDMI, which were my minimum desired specs. The P3 also has the benefit of 16:9 aspect ratio (no wasted pixels!), and a sick little remote control that gives you all sorts of functions, like flip-horizontal, so you can use it for rear projection.
If you have a bit more cash to throw around, consider the P4-X, which bumps up to 95 lumens, 1:2000 contrast ratio, a better focus adjustment knob, and a more standardised 12V 1.5A power supply – the P3 is 5V 3A.
Unfortunately, neither of these projectors have the battery capacity to last for an entire movie, so they need more power.
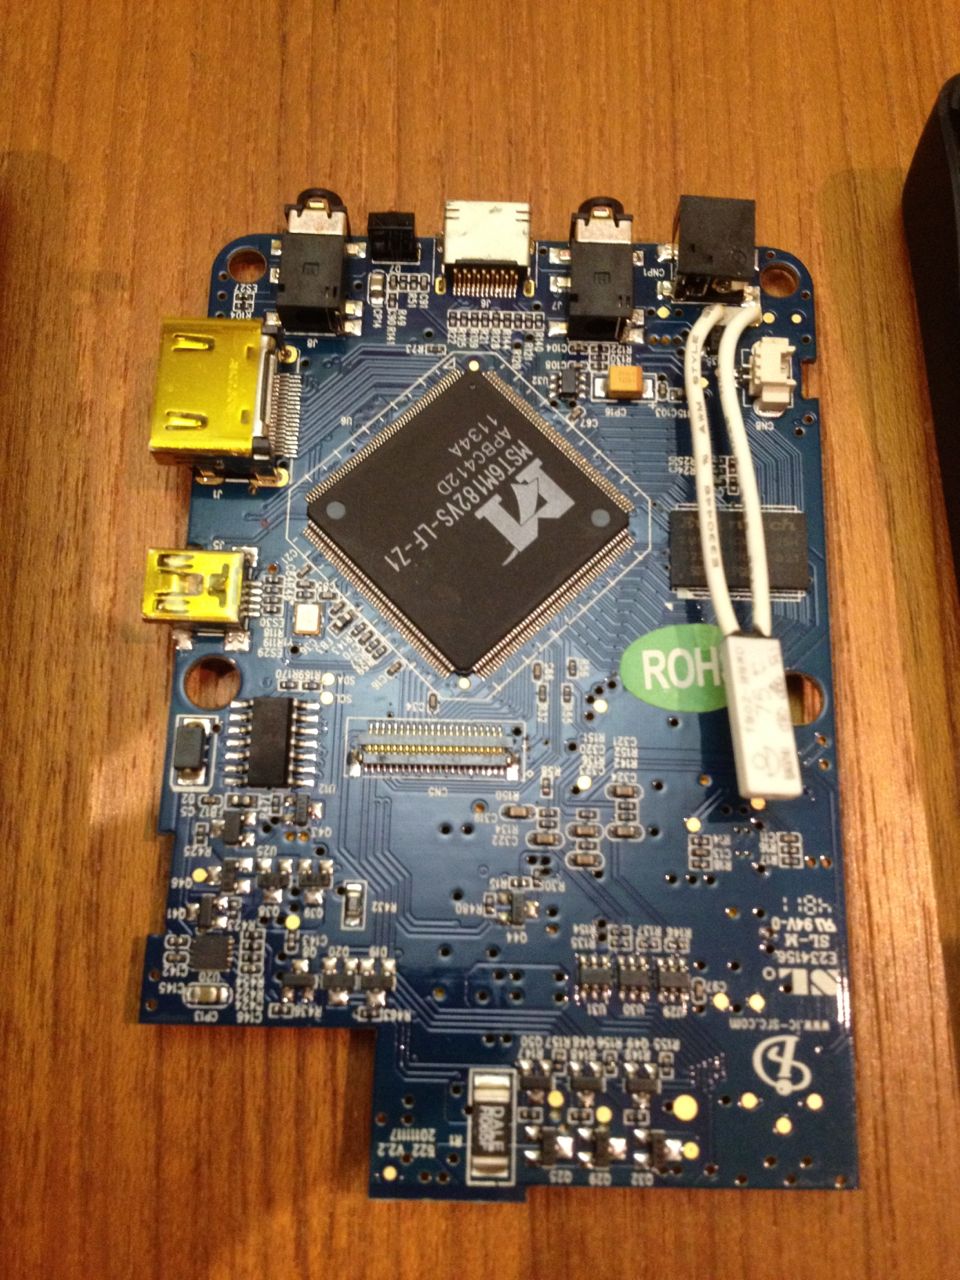
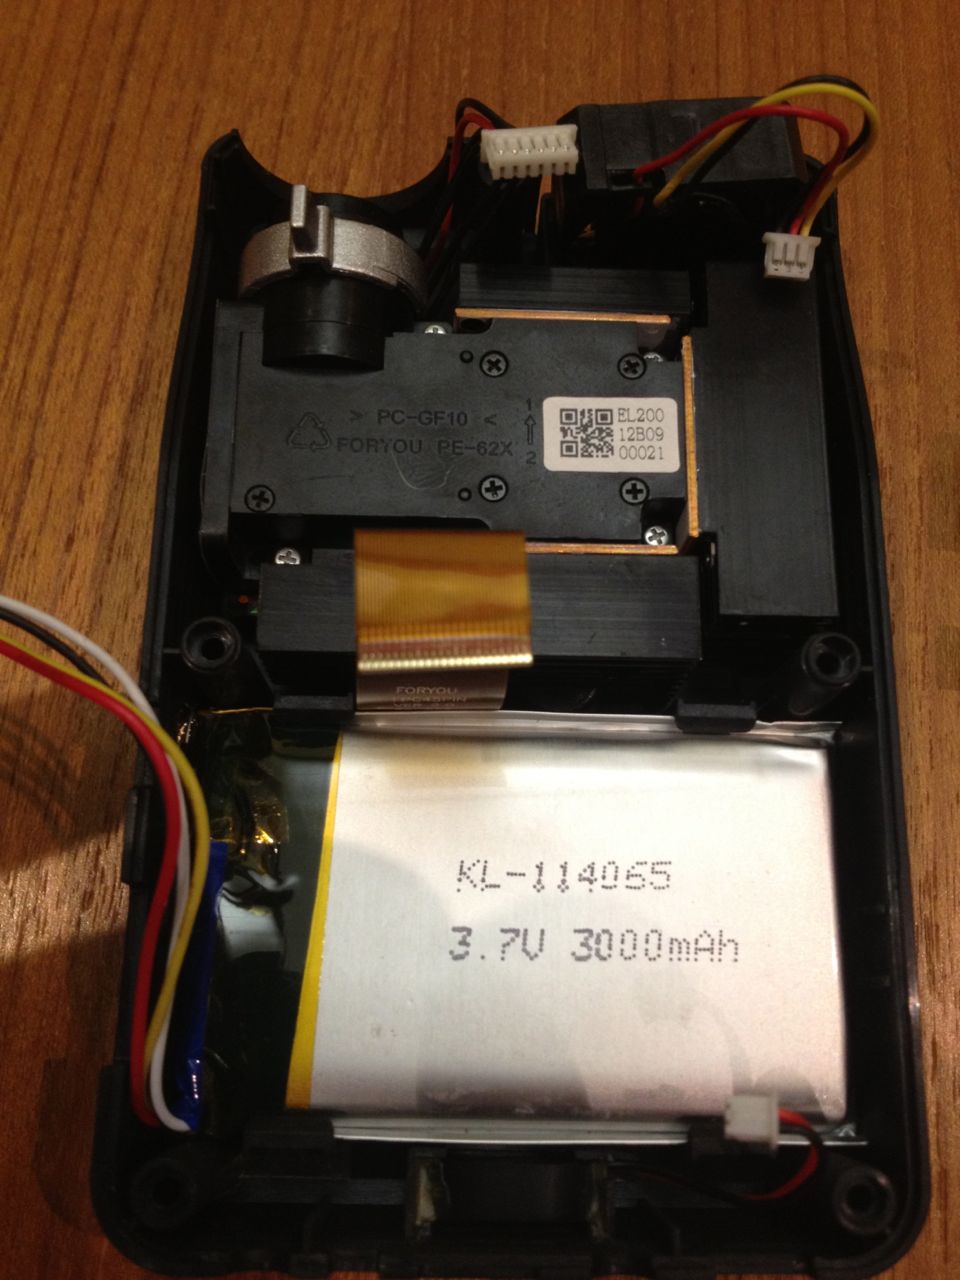
At first, I considered opening up the P3 and replacing the little 3.7V 3000mAh LiPo inside it with a much larger one, but after having a poke around inside, I decided it would be too dodgy, and probably wouldn’t play nice with the charging circuit in the P3. Anyway, when the P3 is running off internal batteries, its brightness drops down to a scant 10 lumens.

A 5V 3A external battery pack

So I started looking for off-the-shelf battery packs, and stumbled across this BiXPower battery pack on Amazon. Its specs (5V, 3A max current draw) fit the bill, and the 13600mAh capacity is more than enough, so I bought it. Unfortunately, it didn’t work – when connected to the projector, it caused it to flicker terribly.
So my next solution was to build my own power supply.
Building your own 5V 3A power supply
I already had one of these enormous ridiculously cheap 14.8V 5000mAh LiPo batteries lying around, so all I needed was a DC regulator to drop the voltage down to 5V.

Fortunately, there’s plenty of options out there. The LM2596 voltage regulator chip is a good option, and there’s plenty of modules that use it for sale on DealExtreme, eBay, etc. I went with something similar to this one that has a built in voltmeter, which is SUPER handy because you can switch between it showing you the source (battery) voltage, and the output voltage, which you set by adjusting the big blue trimpot. Also, the components look to be relatively high quality – notice the capacitors either side of the board are 50V ones, whereas on most boards they’re 35V. This is important because the projector draws something like 12W of power, which is a fair bit for the poor little chip. You’ll need to attach a big heatsink to the back, and maybe even a tiny little one to the front of the LM2596.

Throw in some beefy wire, some high voltage connectors and a dinky little DC jack that plugs into the P3 and you’re done.
One thing to note is that during testing, I set the voltage to 5.1V, and DAMMIT, the screen of the projector flickered. I thought the regulator wasn’t able to provide enough power, but then I slowly cranked it up to about 5.6V and the flicker disappeared. Your milage may vary – be careful about delivering anything more than spec voltage to a device!
A Battery Powered Speaker

As much as I’d like something monstrous – with split speakers so you can sit them either side of the screen – you can’t really beat the Logitech Wireless Boombox for price, size, weight and performance. If you want something a little smaller, consider its little brother the Wireless Speaker Z515.
Collapsible Projection Screen
I would have thought there’d be something you could buy off the shelf to fit this description, but there just isn’t. The first time I used my projector outdoors, we set up our Coleman Event 14, which is a massive gazebo thing with huge vertical side walls that are just perfect for projecting onto. However, weighing in at 17kg, it’s not exactly portable.
One thing I did notice though, is that the Event 14 walls are EXCELLENT projection fabric – they’re ever so slightly silvered on one side (presumably for sun protection) which is perfect for projecting onto. They also work amazingly well for rear-projection, giving a clear, crisp and very bright image.
So, with that in mind, I decided to buy an extra wall from my local camping store (for like $20) and make my own screen.
DIY Projection Screen
I already had a bundle of one metre lengths of 20mm PVC pipe left over from my Fig Rig project, so I bought a bunch of T, L and straight connectors from the hardware store and assembled a 2m x 1m frame. I also used some extra lengths to get it off the ground. The best part is that because the screen will hold it together, you don’t need to glue it – which means you can disassemble it for transport.
I then cut the Event 14 wall into a 2m x 1m rectangle and sewed the sides in to make a thick ~5cm hem so that the “screen” ends up being a bit smaller than the frame. Obviously you can make it any size you want, just make sure your aspect ratio stays near 16:9.
Once the hems were sewn, I punched a MOTHERLOAD of eyelets into the perimeter of the screen, about 10cm apart. This took forever! I just used some cheapo eyelets that I picked up at Bunnings for $7, and they worked fine. The hardest part was making the initial hole for each eyelet to go through.
After that horrible experience, the screen is basically complete. The only thing to do now is to lace the screen onto its frame using some elastic cord. I used about six metres (the circumference of my screen) of some 2.5mm black stuff I found at Spotlight. The idea with lacing the screen to the frame with elastic cord is that it makes the screen stay completely taut across its entire surface. If you get any bulges or slack bits, you can just shuffle the cord around until they disappear.
The Finished Product

Now that I have a portable cinema setup, I’m keen to run some “movies in the park” nights – rock up to a park somewhere, have a BBQ and then setup the screen and projector!
Remind me to upload some photos…
Could’ve saved all the trouble with the external battery you built and got the Anker Astro E3 10000 mAh battery. Second gen out now. I use first gen. Puts out combined 3A from dual ports or 3A from one.
Here it is… Anker® 2nd Gen Astro E3 10000mAh Dual-Port Ultra Compact External Power Bank – (Black)
Never mind. I’m an asshole. That one appeared to work but does not.
Hey Casey, upload some photos!